In this tutorial, I am going to show you how to convert any of your photos into HDR photo with Snapseed app. Now, this is not true HDR but using Snapseed, you can improve your photo and also give it HDR look, especially those you took in bad lighting conditions, this will make your worst photos usable again so you can post better photos on Instagram. First, download the Snapseed app, it is available for both Android and iOS.
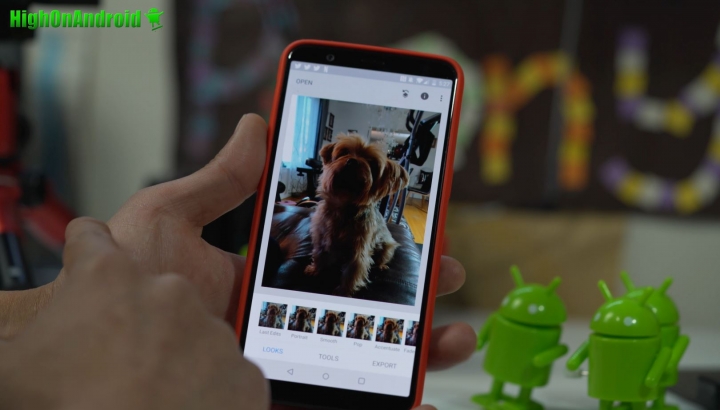
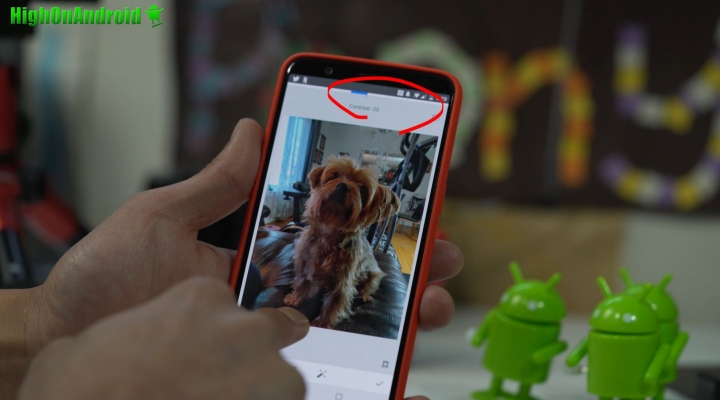
Step 1. Choose a photo that you want to convert to HDR. Here’s a really bad photo I took in bad lighting of my dog.
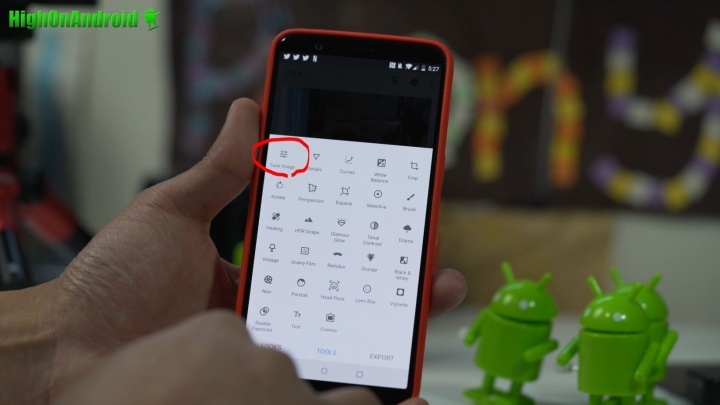
Step 2. Choose “Tune Image” from Tools.
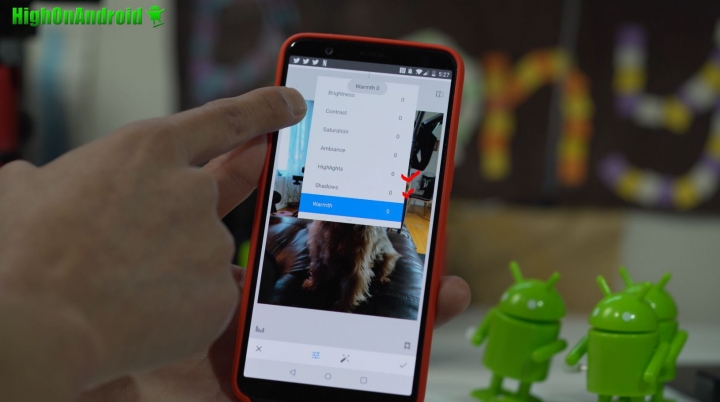
Step 3. Adjust the shadows and highlights and try to recover the details lost in the dark and brightness.
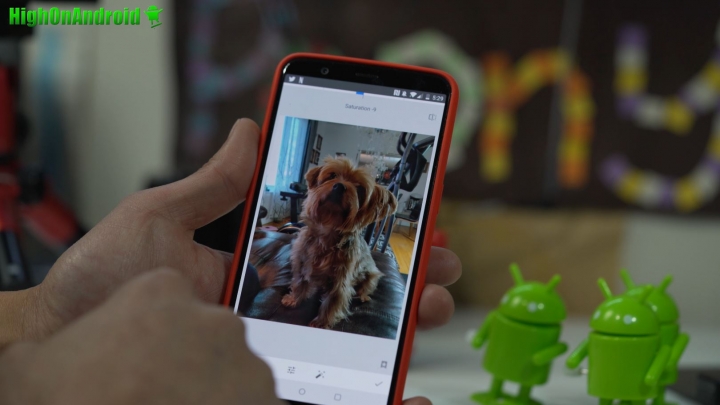
Once adjusted, your photo will already look ten times better!
Step 4. Also you can adjust the contrast to bring a bit more details in the shadows by pulling it to the left.
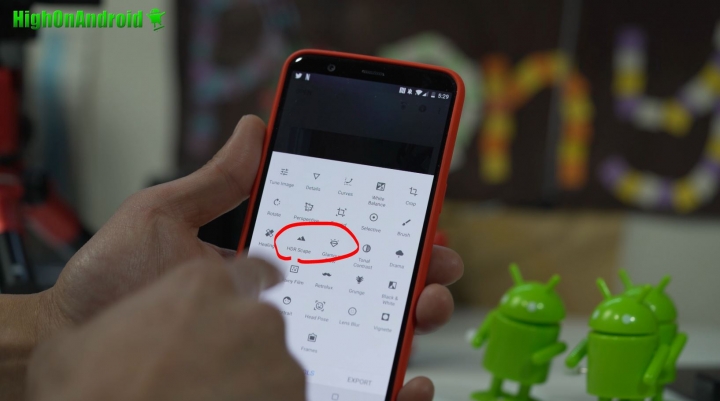
Step 5. Next, choose “HDR Scape” under “Tools”. This is where the HDR magic will happen.
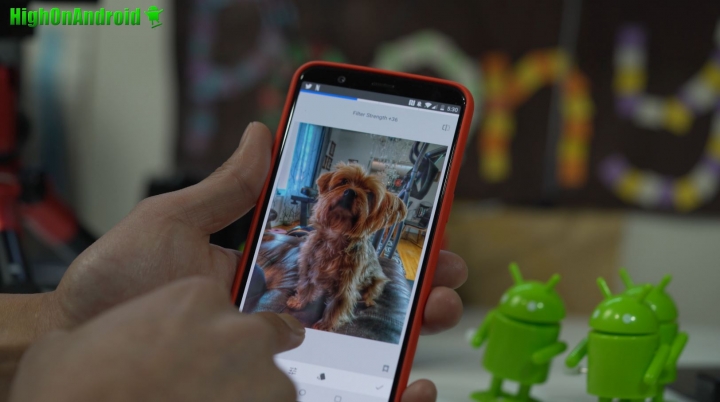
Adjust the HDR dial to your liking. You can get very creative here if you want but for this tutorial, I am just going to make it look HDR.
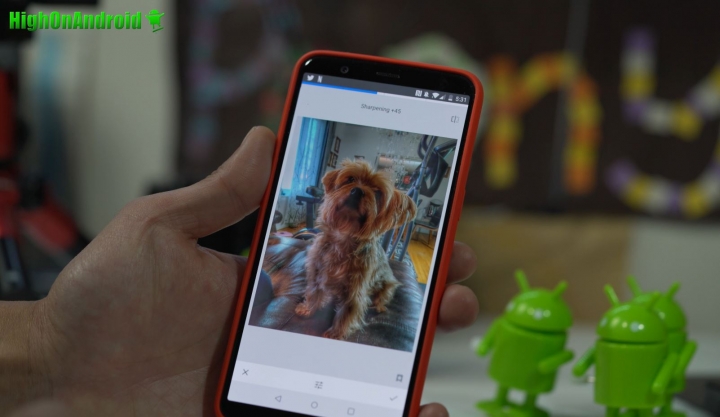
Step 6. You can also add a little sharpening that will help your bad photos look a bit sharper.
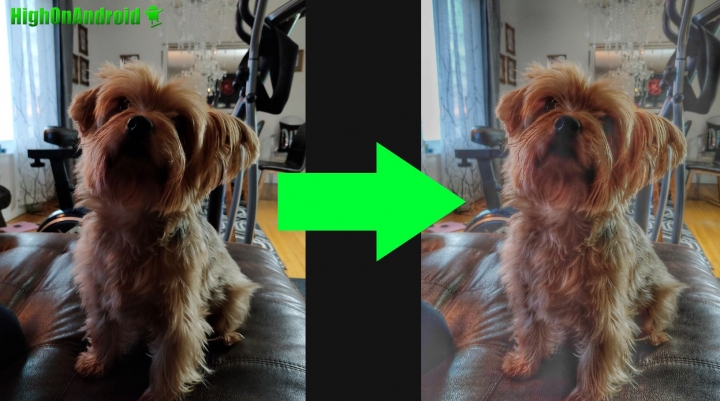
The result? A bad photo taken in the worst lighting conditions that now looks very HDR and usable.
This is really easy to do so if you have any photos you want to make into HDR, definitely give it a try and let me know how it works!
Have a question?
Please post all your questions at the new Android Rehab Center at HighOnAndroid Forum, thank you for understanding!Join the HighOnAndroid VIP Fans List for free help from Max and discounts on Android accessories.