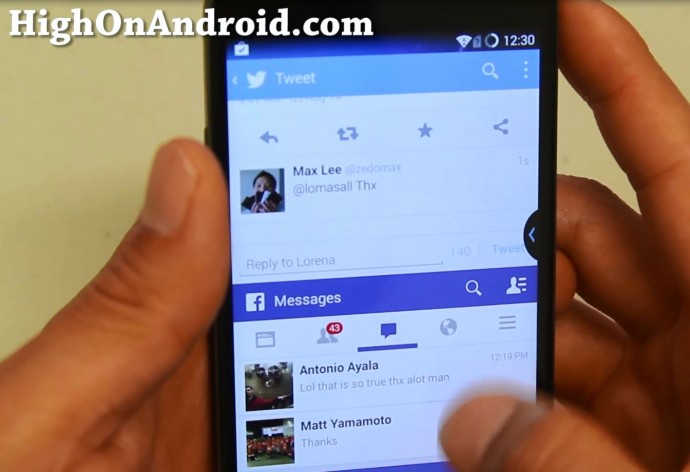
One of the coolest features on Samsung Galaxy Note phones is the ability to multi-task using multi-window feature, which allows you to use two apps at the same time, just like a desktop computer.
Well, this feature is only available on Samsung Galaxy smartphones or LG G3 unless you install custom ROM like C-ROM.
For those of you don’t have a Galaxy Note 3, Note 2, S4, S5, or G3, there’s now a way to get it on any rooted Android smartphone or tablet.
I find this feature especially useful on larger-screen tablets like Nexus 7 or Nexus 10 where multi-tasking makes sense when you are trying to use the calculator with Google Docs spreadsheet or simply playing a game while checking out your Facebook page at the same time.
Before you try this, you will need a rooted Android smartphone or tablet.
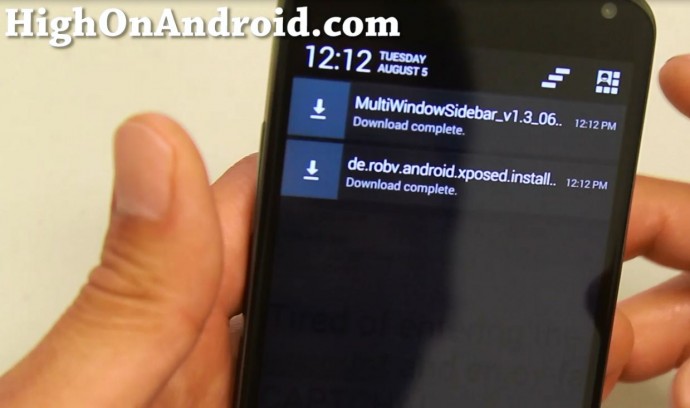
Step 1. Download the latest version of Xposed Installer and also Multi-Window Sidebar app:
Download:
Download Multi-Window Sidebar app
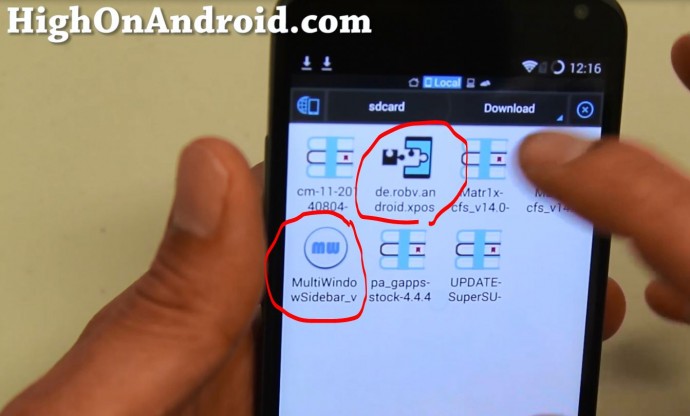
Step 2. Install ES File Explorer app from Play Store (free app) and open the app.

Step 3. Browse to your “Download” folder and install both Xposed Installer and Multi-Window Sidebar files.
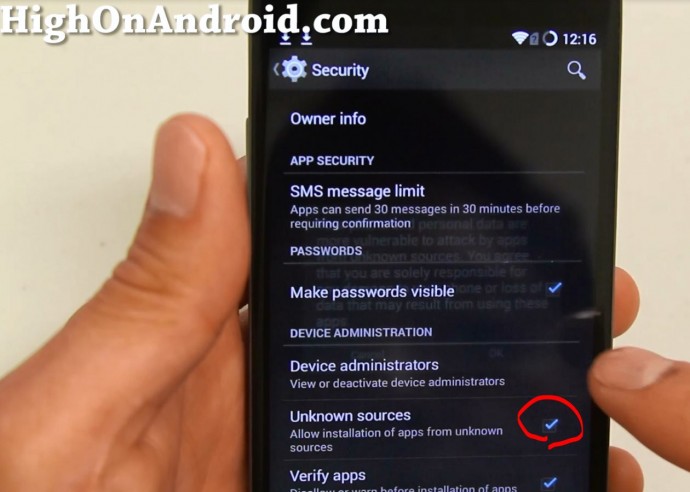
You may have to check “Unknown Sources” on to install these apps. Don’t worry, these apps are completely safe and do not have any type of spyware.
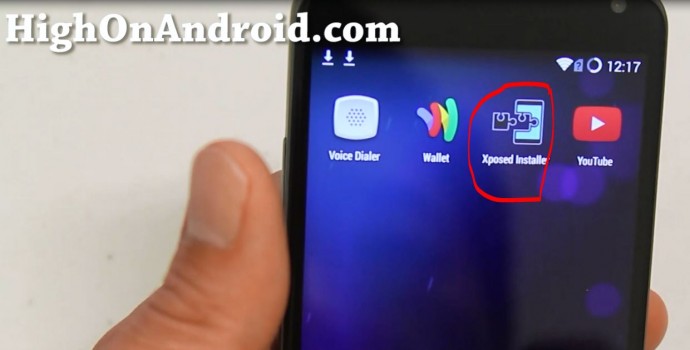
Step 4. Once those two apps are installed, open the Xposed Installer app.
Step 5. Hit “Framework”.
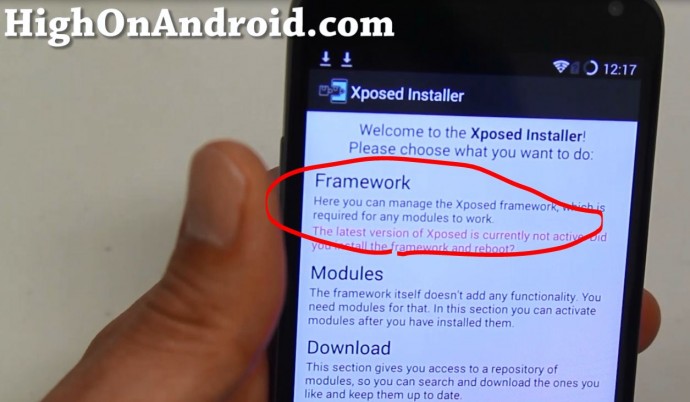
Step 6. Choose “Install/Update”.

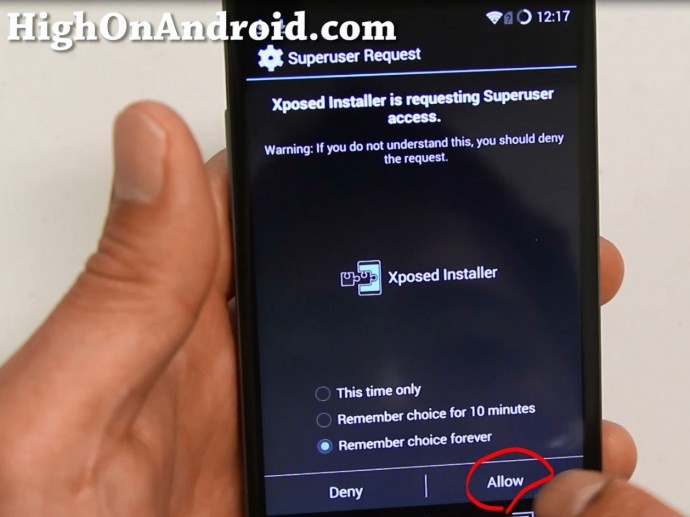
Step 7. Make sure you hit “Allow/Grant” when Superuser request window pops up! If you don’t see this, make sure your Android device is rooted!
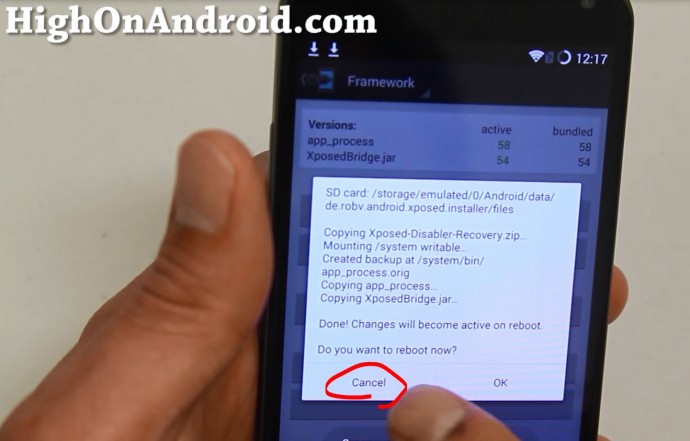
Step 8. When the app asks you to reboot, hit “Cancel” instead.
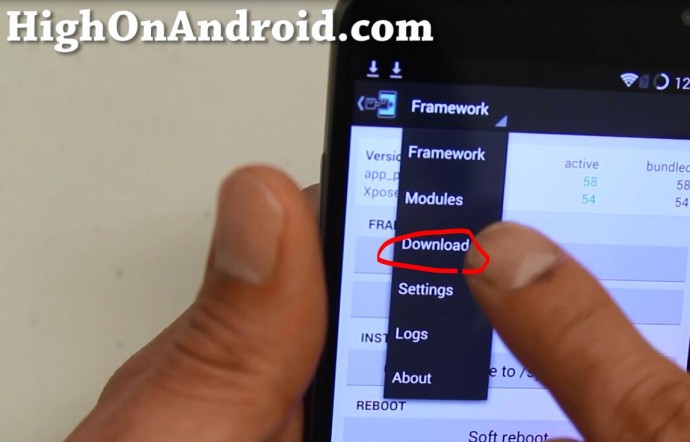
Step 9. Choose “Download” from the menu on Xposed Installer app.
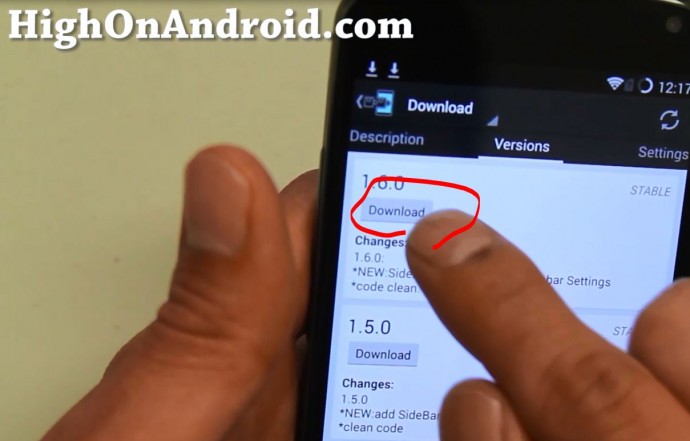
Step 10. Search for “Xmultiwindow” and select it.

Step 11. Swipe to right “Versions” tab and hit “Download” on the latest version.
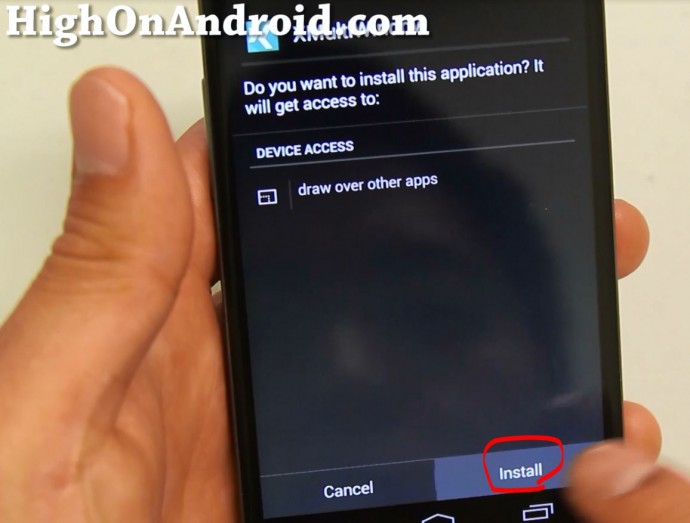
Step 12. Install the XMultiWindow app.
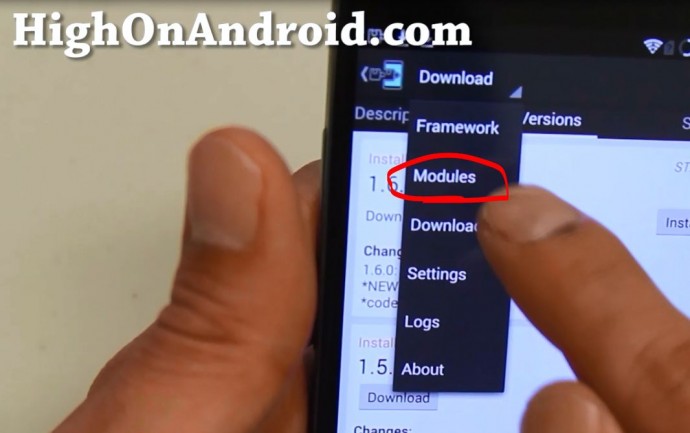
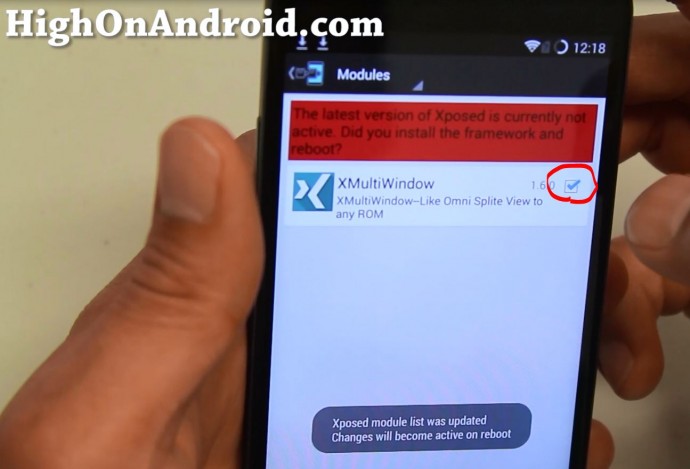
Step 13. Next choose “Modules” in menu for Xposed Installer app.
Step 14. Make sure XMultiWindow is checked ON.
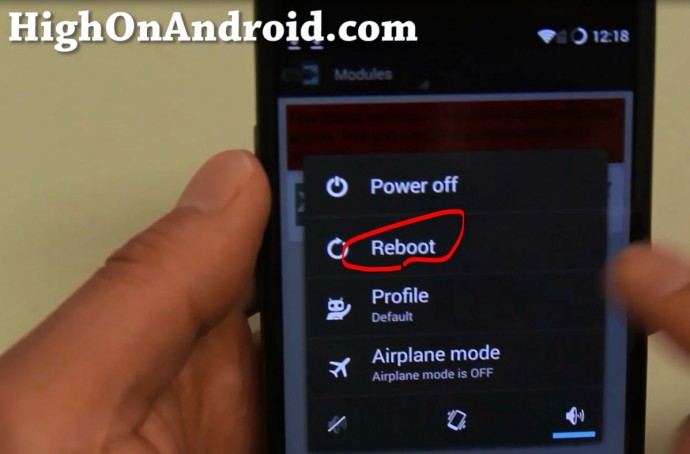
Step 15. Reboot your phone.
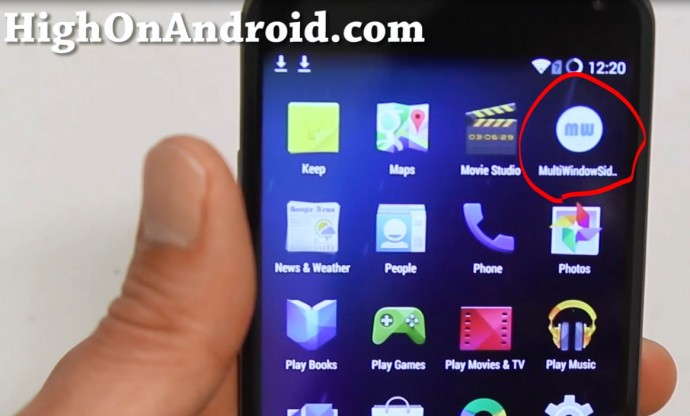
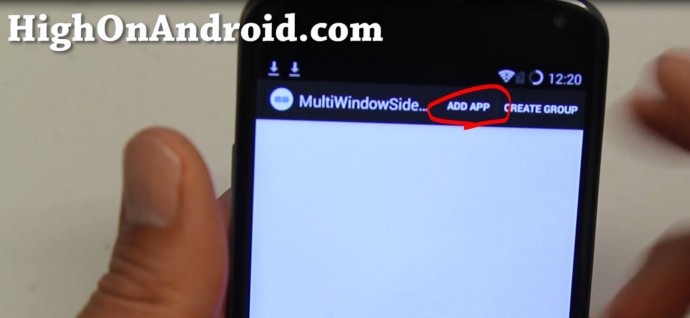
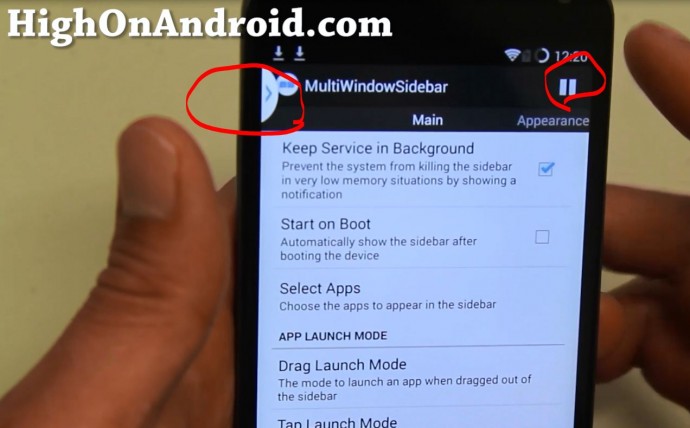
Step 16. Once rebooted, open the Multi-Window Sidebar app.
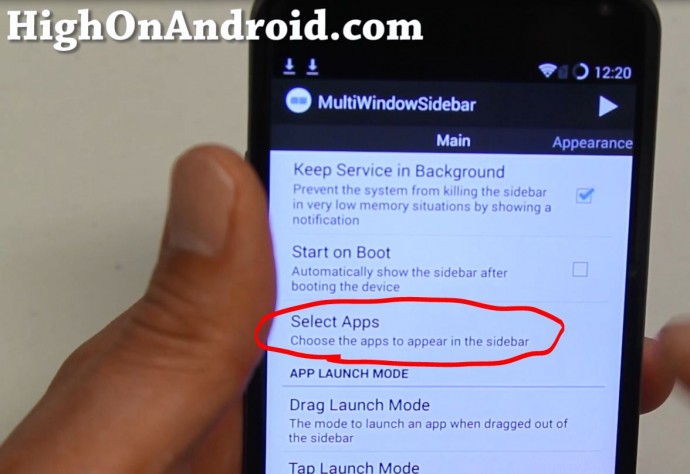
Step 17. Choose “Select Apps” and add all of your favorite apps you want to add.

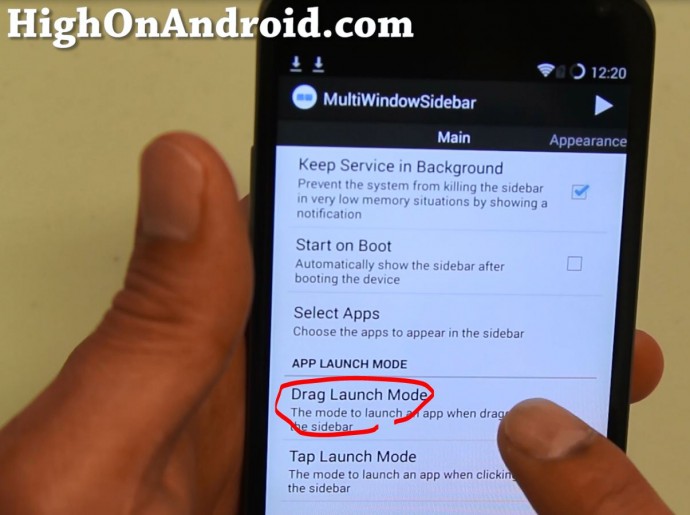
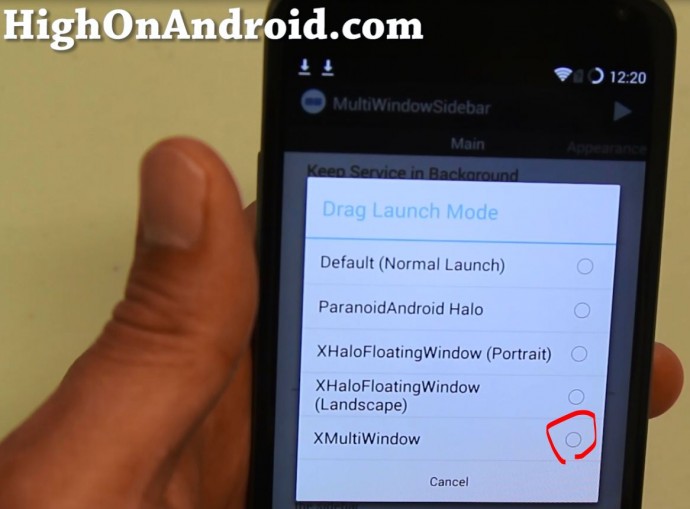
Step 18. Next choose “Drag Launch Mode” and select “XMultiWindow”.
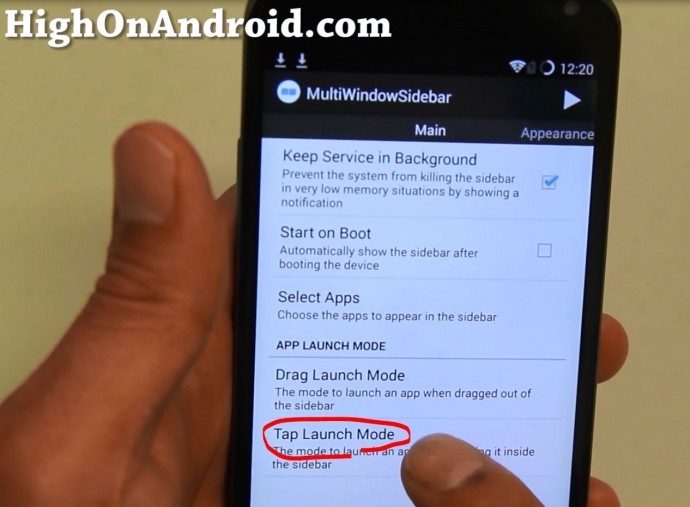
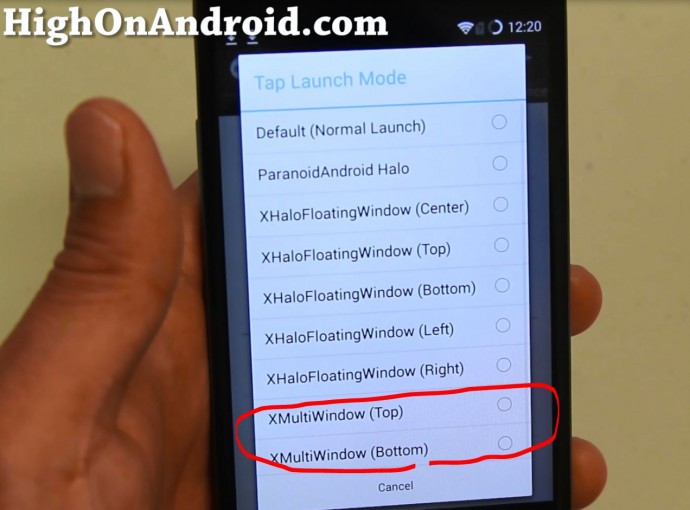
Step 19. Next choose “Tap Launch Mode” and choose “XMultiWindow (Top)” or “XMultiWindow (Bottom)”.
Step 20. Hit the Play button on the top-right and you should see a sidebar tab appear.
Step 21. Press on the tab then select-and-drag the apps you want to multi-task to top and bottom.
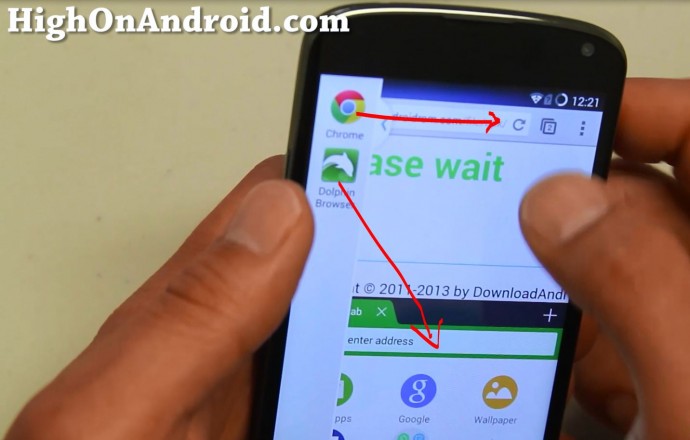
That’s it! Now you should have fully-working multi-window on your rooted Android device!
Q&A
Q: My keyboard isn’t working!
A: Try dragging the app again to the Top of Bottom of the Window. This app has a bug where the keyboard only works on the last app dragged (which may be fixed by the time you see this tutorial) but you can simply drag app again to get keyboard working.
Credits – XDA <— Please donate to the developer or hit the Thanks button on XDA if you like this app!
Have a question?
Please post all your questions at the new Android Rehab Center at HighOnAndroid Forum, thank you for understanding!Join the HighOnAndroid VIP Fans List for free help from Max and discounts on Android accessories.